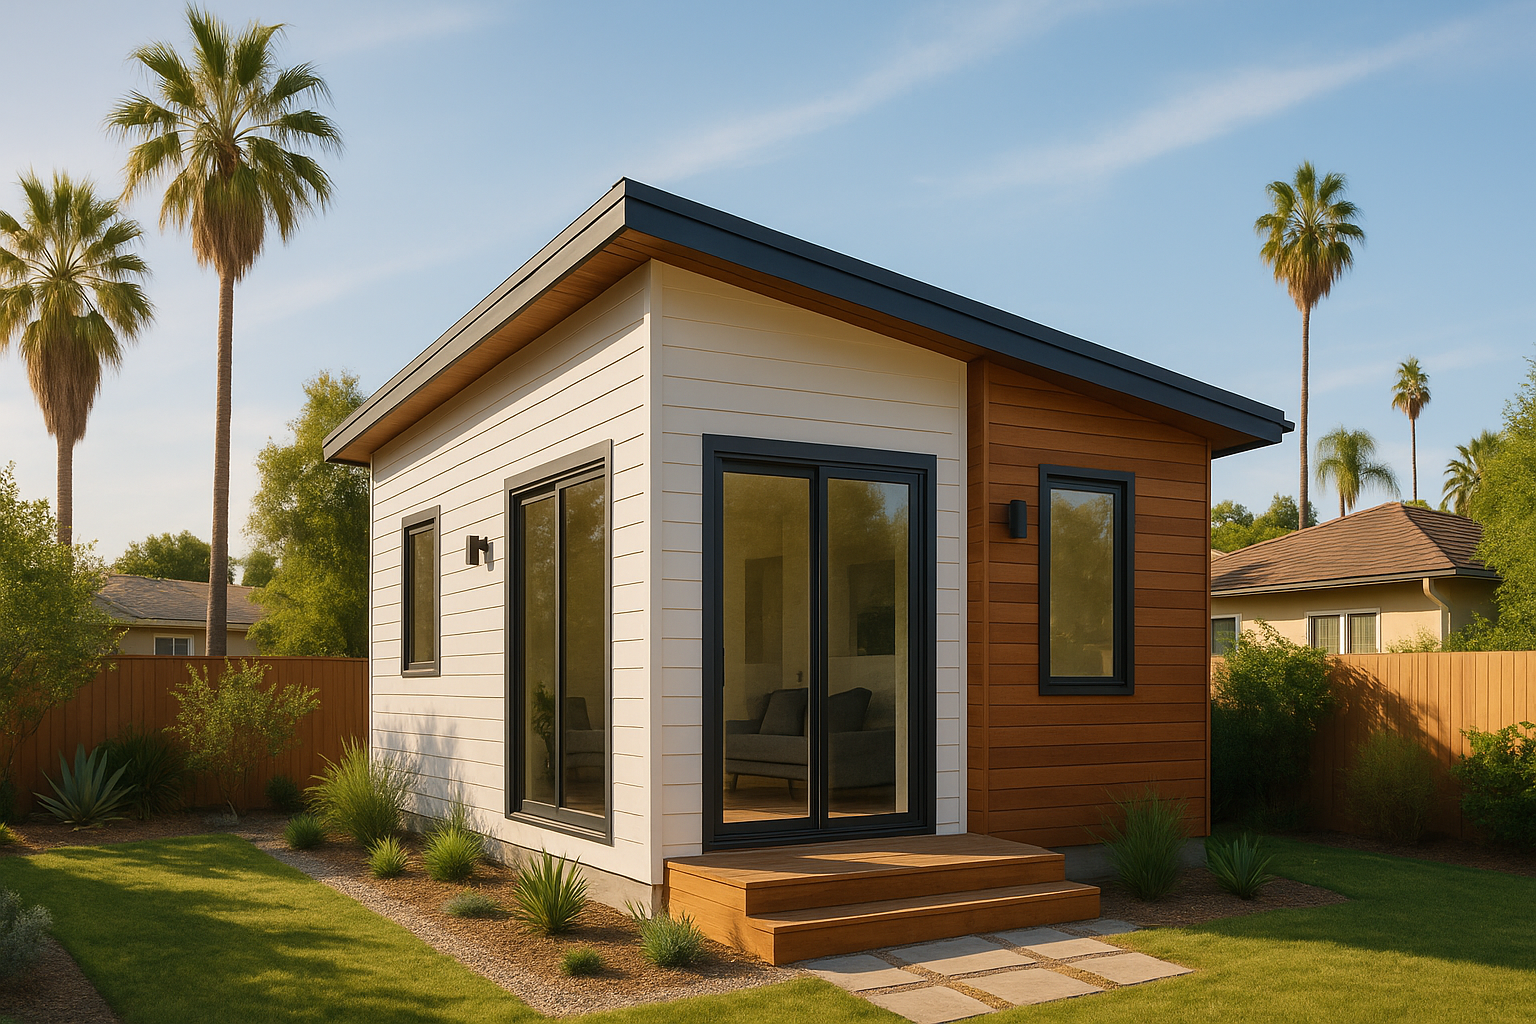
Building an accessory dwelling unit (ADU) is one of the smartest investments a California homeowner can make, but the construction process involves more than just framing walls and hanging drywall.
A series of mandatory building inspections ensures your ADU meets the California Building Standards Code, local safety requirements, and Title 24 energy compliance standards before anyone can move in.
Understanding the ADU building inspection checklist in Los Angeles ahead of time helps you avoid delays, re-inspection fees, and the stress that comes with failed inspections.
Below is a complete breakdown of every inspection stage you should expect, from the pre-construction meeting to the final sign-off and certificate of occupancy.
When you choose to work with LADU, every phase from ADU design and permitting to construction arrangements and inspections is handled by our architect-led team.
That means less stress, guaranteed approvals, and quality construction built not only to pass inspections but to last long term. Schedule your free site visit today to get started, or call (213) 855-3334 to speak with an ADU expert about your project.
Why ADU Inspections Are Non-Negotiable
Every ADU project, whether it's a detached ADU, an attached addition, or a garage conversion ADU, must pass multiple inspections conducted by your local building department.
These inspections verify that the work completed at each phase matches the approved building permit plans and complies with structural, electrical, plumbing, mechanical, and energy efficiency standards.
Inspections protect both the homeowner and future occupants. They confirm that unseen components such as foundation reinforcement, electrical wiring, plumbing connections, and insulation are installed correctly and safely.
Skipping or failing an inspection and not adhering to ADU building requirements can result in stop-work orders, re-inspection fees, and significant project delays.
Pre-Construction Meeting
Before any physical work begins, most jurisdictions in California, including Los Angeles County, require a mandatory pre-construction meeting with a building inspector. This is arguably the most important step on the ADU inspection checklist.
During the pre-construction meeting, the inspector will:
- Review the approved building permit plans on-site.
- Verify existing conditions (foundation, framing, utilities) against the plans.
- Confirm setback requirements, utility pathways, and connection points.
- Discuss the inspection sequence and scheduling procedures.
- Identify any agency referral approvals that must be completed first.
Both the property owner and the licensed general contractor should attend. This meeting sets expectations for the entire project and helps prevent issues that could surface during later inspections.
Stage 1: Site Preparation and Underground Utilities
Once construction begins, the first inspection covers site preparation, including grading, drainage, and underground utility work.
What the inspector checks:
- Proper grading and soil compaction
- Storm water protection and erosion control measures
- Underground electrical conduit placement
- Underfloor or underslab plumbing (top-out test)
- Water service connection
- Underground gas piping
- Sewer connection
- Backflow preventer installation
This inspection must be completed before any concrete is poured. Your contractor should have all trenches open and accessible so the inspector can verify pipe sizes, depths, and connection points.
Stage 2: ADU Foundation Inspection
The foundation inspection takes place after forms, rebar, and any required anchor bolts are in position but before the concrete pour. For a slab-on-grade design, the inspector will also verify the vapor barrier placement.
Key items reviewed:
- Footing depth and width per the structural engineer's specifications
- Rebar size, spacing, and placement
- Anchor bolt locations and embedment depth
- Vapor barrier installation (critical for slab-on-grade foundations)
- Any special inspection reports for soils or concrete testing
- Compliance with seismic reinforcement requirements
If your ADU involves a raised foundation, the inspector will evaluate the crawl space ventilation, pier footings, and post-to-beam connections.
Stage 3: Rough Framing Inspection
After the walls, roof, and windows are in place but before any insulation or drywall goes up, the ADU framing inspection occurs. This is one of the most comprehensive inspections in the ADU building process.
The inspector will evaluate:
- Wall stud spacing, size, and connection to the sill plate.
- Roof sheathing nailing patterns and truss or rafter spacing.
- Shear wall bracing and hold-down hardware.
- Header sizes above doors and windows.
- Fire blocking at all required locations.
- Window and door flashing installation.
- Proper nailing schedules throughout the structure.
This inspection often happens simultaneously with the rough electrical, plumbing, and mechanical inspections, collectively referred to as the "rough-in" stage.
Stage 4: Rough Electrical, Plumbing, and Mechanical Inspections
During the rough-in stage, the building inspector (or separate trade inspectors) will verify that all behind-the-wall systems are installed correctly.
ADU Electrical Inspection
- Wire gauge and circuit layout per the electrical plan
- Proper grounding and bonding
- GFCI and AFCI protection in required locations
- Panel capacity and breaker sizing
- Smoke detector and carbon monoxide alarm wiring
ADU Plumbing Inspection
- Drain, waste, and vent pipe sizing and slope
- Water supply line routing and pressure testing
- Gas line pressure test (typically at 15 PSI for a minimum duration)
- Shower pan test (water-tight verification before tile)
- Fixture rough-in locations
ADU Mechanical Inspection
- HVAC ductwork installation and sealing
- Ventilation pathways for bathrooms and kitchen
- Combustion air requirements for gas appliances
- Refrigerant line routing (if applicable)
All rough-in work must be visible and accessible during the inspection. Don't cover anything with insulation or drywall until these inspections pass.
Stage 5: Insulation and Energy Compliance Inspection
California's Title 24 energy standards are strict, and your ADU must meet them. The insulation inspection occurs after rough-in approvals but before drywall installation.
The inspector verifies:
- Wall insulation R-value matches the Title 24 energy report.
- Ceiling/attic insulation R-value compliance.
- Proper installation with no gaps, compression, or missing sections.
- Air sealing at penetrations, top plates, and rim joists.
- Window and door U-factor compliance.
- HERS testing requirements (Home Energy Rating System).
Your insulation materials should be on-site during the inspection so the inspector can verify the R-value ratings printed on the product. A HERS rater may also need to perform duct leakage testing and verify indoor air quality ventilation at this stage.
Stage 6: Drywall and Exterior Lath Inspection
Once drywall and exterior lath (stucco lath) are installed but before taping and finishing, another inspection is required.
Items reviewed:
- Interior drywall nailing patterns and screw spacing
- Fire-rated assemblies (rated walls and floor/ceiling assemblies)
- Exterior lath installation and weather-resistive barrier
- Proper termination of all fire barriers per code
This stage often includes the shower pan test if it wasn't completed during the rough plumbing inspection.
Stage 7: ADU Final Inspection and ADU Certificate of Occupancy
The final inspection is the last step before your ADU can be legally occupied. The building inspector will do a complete walkthrough to verify that every system and finish meets code requirements.
The final building inspection checklist ensures:
- All electrical fixtures, outlets, and switches are functional.
- Plumbing fixtures are connected and leak-free.
- The HVAC system operates correctly.
- Smoke detectors, carbon monoxide alarms, and fire sprinklers (if required) are installed and operational.
- Exterior drainage and lot grading direct water away from the structure.
- Address numbers are posted and visible.
- Handrails, guardrails, and stairways meet code.
- Final HERS certification is on file.
- All agency referral approvals (fire, health, utilities) are complete.
Once the building inspector signs off, the building department issues a certificate of occupancy, which is the official document that confirms your ADU is safe, code-compliant, and ready for occupancy.
Tips To Pass Every ADU Inspection the First Time
Preparing for inspections is just as important as the construction work itself. Here are practical steps to keep your project on track:
- Hire a licensed general contractor experienced with ADU construction in your area. Contractors who have built multiple ADUs know what inspectors look for and how to schedule inspections efficiently.
- Keep approved plans on-site at all times. Inspectors will reference the stamped plans during every visit.
- Schedule inspections promptly. In busy jurisdictions, inspection wait times can range from a few days to over a week. Build this into your ADU construction timeline.
- Never cover work before it's inspected. Closing up walls, pouring concrete, or installing finishes before the required inspection is approved will result in the inspector requiring you to open it back up.
- Maintain a clean and accessible job site. Inspectors need clear access to all areas being reviewed. A cluttered or unsafe site can delay your inspection.
- Document everything. Keep records of all inspection results, corrections required, and re-inspection dates.
What Happens if an Inspection Fails?
A failed inspection is not uncommon, and it doesn't mean your project is in trouble. The inspector will provide a correction notice listing exactly what needs to be fixed. Your contractor will address the items, and a re-inspection will be scheduled.
However, repeated failures or work completed out of sequence can lead to re-inspection fees and added delays.
The best way to avoid this is clear communication between your contractor and the building department and making sure all work matches the approved plans before calling for an inspection.
Start Your Los Angeles ADU Project With Confidence
The ADU inspection process may seem complex, but with the right team and a clear understanding of each stage, it becomes a manageable part of the building process.
LADU handles every phase of ADU construction, from design and ADU permitting through construction and final inspection so that homeowners can focus on the exciting part: planning how to use their new space.
Schedule a free site visit to discuss your ADU project, or call (213) 855-3334 to connect with our team today.
ADUs Designed Better. Built Smarter.
Contact us or schedule a free consultation to learn more about financing an ADU on your property.